
1. Intshayelelo
The StarTech.com SV231DPU34K is a 2-Port DisplayPort KVM Switch designed to allow control of two DisplayPort-enabled computers from a single monitor, keyboard, and mouse. This device supports high-resolution video up to 4K at 60Hz and includes an integrated USB 3.0 hub for sharing additional USB peripherals between connected systems. It also features 3.5mm analog audio switching and offers flexible control via front-panel push buttons or hotkey commands.
2. Imixholo yePakethe
- 1x KVM Switch (SV231DPU34K)
- 1x Universal Power Adapter (NA/JP, EU, UK, ANZ)
- 4x Rubber Foot Pads
3. Imveliso iphelileview
3.1 Iphaneli engaphambili
The front panel provides convenient access to a USB HID port, a USB 3.0 port, and selection buttons for switching between connected computers.

Umfanekiso 1: Front Panel of the SV231DPU34K KVM Switch. Features include a USB HID port, a USB 3.0 port, and two computer selection buttons (1 and 2) with a 'SELECT' button.
3.2 Iphaneli yangasemva
The rear panel houses the power input, console DisplayPort and USB HID ports, and dedicated DisplayPort, USB, and audio ports for each connected PC.
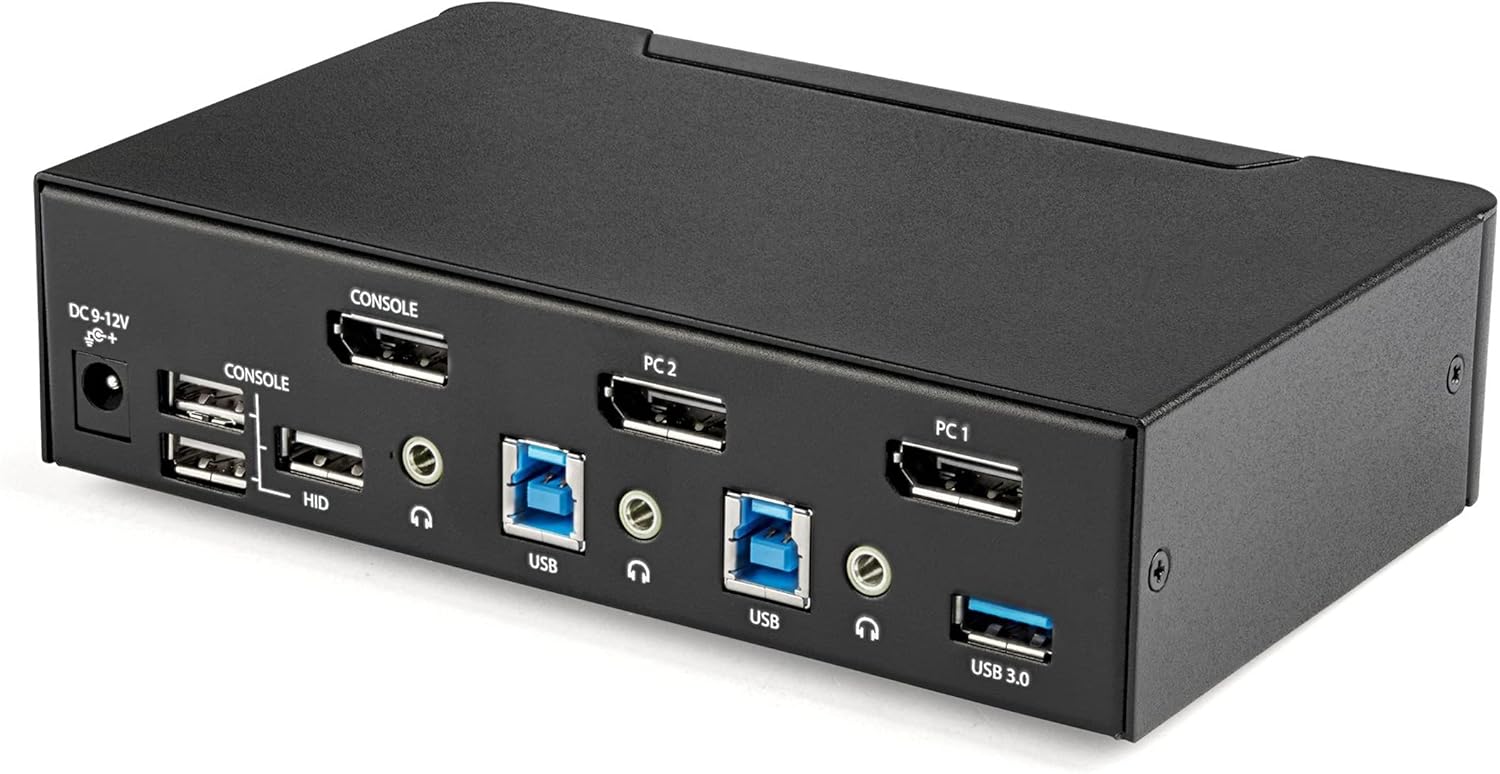
Umfanekiso 2: Rear Panel of the SV231DPU34K KVM Switch. Connections include DC 9-12V power, Console DisplayPort, Console USB HID ports, and individual DisplayPort, USB 3.0 Type-B, and 3.5mm audio jacks for PC1 and PC2.
3.3 Labeled Diagram
This diagram provides a comprehensive view of all ports and their functions on both the front and rear panels.

Umfanekiso 3: Labeled diagram illustrating all ports on the SV231DPU34K KVM Switch, including console connections for monitor, keyboard, and mouse, and PC connections for two computers.
4. Imiyalelo yokuSeta
Follow these steps to set up your StarTech.com SV231DPU34K KVM Switch:
- Cima izixhobo: Ensure all computers, monitors, and peripherals are powered off before beginning the installation.
- Qhagamshela izixhobo zeConsole:
- Connect your DisplayPort monitor to the CONSOLE DisplayPort on the rear of the KVM switch.
- Connect your USB keyboard and mouse to the CONSOLE HID USB Type-A ports on the rear of the KVM switch.
- If using external speakers or a microphone, connect them to the CONSOLE 3.5mm audio jacks ngasemva.
- Connect Computers (PC1 and PC2): Kwikhompyuter nganye:
- Connect a DisplayPort cable from your computer's DisplayPort output to the corresponding PC1 DisplayPort or PC2 DisplayPort input on the KVM switch.
- Connect a USB 3.0 Type-A to Type-B cable from your computer's USB 3.0 port to the corresponding PC1 USB 3.0 Type-B or PC2 USB 3.0 Type-B input on the KVM switch.
- If using audio, connect 3.5mm audio cables from your computer's audio output/input to the corresponding PC1/PC2 3.5mm audio jacks.
- Qhagamshela i-USB peripherals: Connect any additional USB 3.0 peripherals (e.g., USB hub, printer, flash drive) to the USB 3.0 Uhlobo-A amazibuko on the front or rear of the KVM switch.
- Qhagamshela Amandla: Connect the included universal power adapter to the Igalelo lamandla e-DC 9-12V on the rear of the KVM switch, then plug it into a power outlet.
- Vula amandla: Power on the KVM switch, then power on your monitor, and finally power on your connected computers.
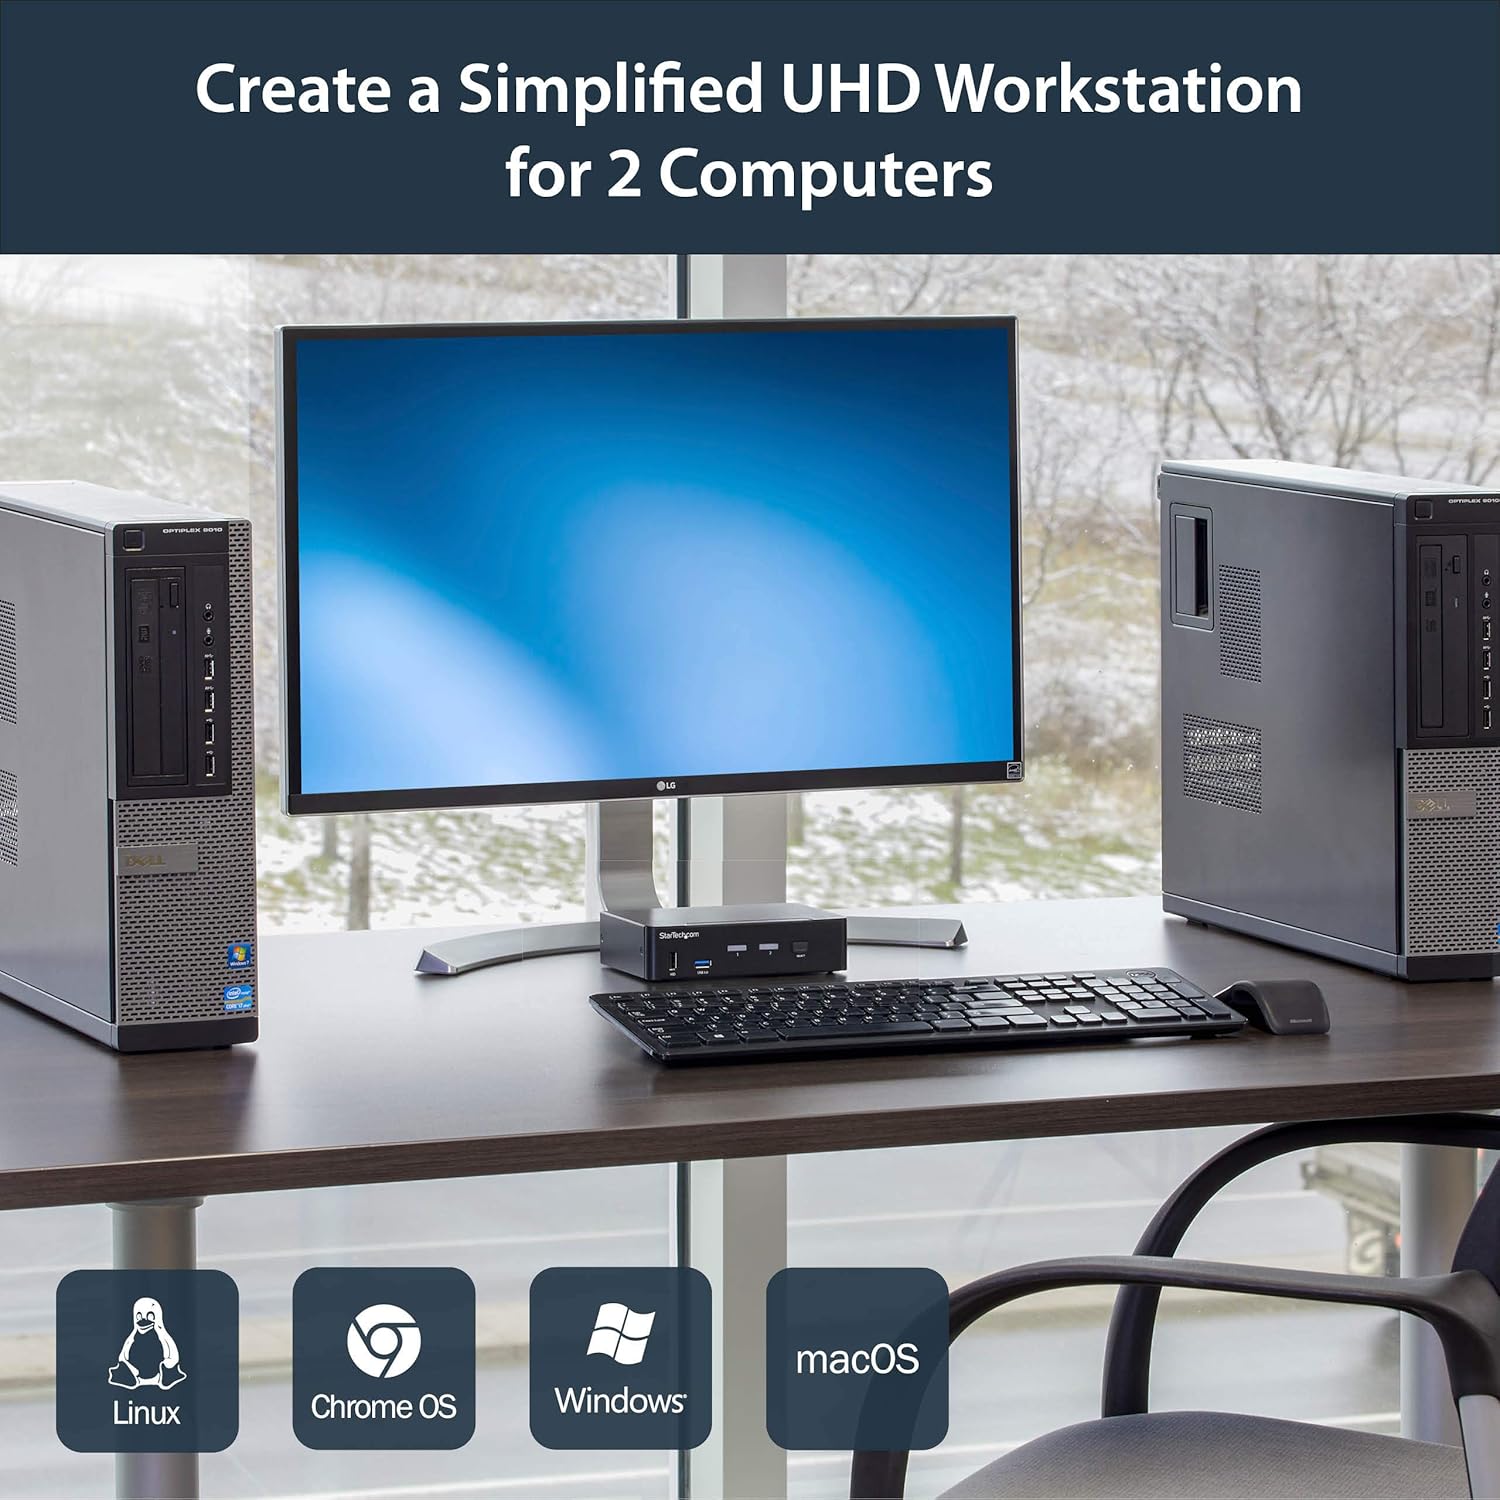
Umfanekiso 4: Connection diagram for the SV231DPU34K KVM Switch, showing how two computers share one display and peripherals.
5. Imiyalelo yokusebenza
The SV231DPU34K KVM Switch offers two methods for switching between connected computers:
5.1 Front Panel Push Buttons
Cofa ehambelanayo KHETHA button on the front panel of the KVM switch to switch to the desired computer (PC1 or PC2). The LED indicator for the selected computer will illuminate.
Umfanekiso 5: Front panel with computer selection buttons.
5.2 Hotkey Switching
The KVM switch supports hotkey commands for switching between computers. Refer to the quick start guide or the official StarTech.com product page for specific hotkey sequences.
6. Isondlo
To ensure optimal performance and longevity of your KVM switch, follow these maintenance guidelines:
- Ukucoca: Keep the device clean and free from dust. Use a soft, dry, lint-free cloth for cleaning. Avoid using liquid or aerosol cleaners.
- Ukungenisa umoya: Ensure adequate airflow around the KVM switch to prevent overheating. Do not block any ventilation openings.
- Ulawulo lweeCable: Lungisa iintambo ukuze uthintele uxinzelelo kwiizibuko kunye nokuqhawuka ngengozi.
- Imiqathango yokusingqongileyo: Operate the device within its specified temperature and humidity ranges. Avoid extreme temperatures or moisture.
7. Ukuxazulula ingxaki
Ukuba udibana nemiba ngotshintsho lwakho lwe-KVM, bhekisa kwezi ngxaki zilandelayo nezisombululo:
| Ingxaki | Isisombululo Esinokubakho |
|---|---|
| No display or flickering display after switching. |
|
| Ikhibhodi okanye imawusi ayiphenduli. |
|
| USB 3.0 devices not detected or working intermittently. |
|
| Audio issues (static, no sound). |
|
| G-Sync or FreeSync not working. |
|
8. Iinkcukacha
| Uphawu | Iinkcukacha |
|---|---|
| Umzekelo | SV231DPU34K |
| Uphawu | StarTech.com |
| Ujongano lweVidiyo | I-DisplayPort 1.2 |
| Isisombululo seMax | 3840 x 2160 @ 60Hz (4K UHD) |
| MST Passthrough | Ixhasiwe |
| USB Hub | 2-Izibuko le-USB 3.0 Hub |
| Izibuko ze-USB ezifihliweyo | 4x USB Type-A (for keyboard/mouse) |
| Umsindo | 3.5mm Analog Audio Switching |
| Iindlela zoTshintsho | Push Button, Hotkey |
| Izinto eziphathekayo | Intsimbi |
| Imilinganiselo (L x W x H) | 3.9 x 6.3 x 1.6 intshizi (9.9 x 16.0 x 4.1 cm) |
| Ubunzima bento | Iiponti ezingama-1.3 (0.59kg) |
| Ungeniso lwamandla | DC 9-12V, 18 Watts |
| Umbala | Mnyama |
| Ubushushu bokusebenza | 0°C ukuya ku-40°C (32°F ukuya ku-104°F) |
| Ubushushu boGcino | -20°C ukuya ku-60°C (-4°F ukuya ku-140°F) |
| Ukufuma | 0-80% RH (engacondensing) |
9. Iwaranti kunye neNkxaso
9.1 Ulwazi lweWaranti
This StarTech.com product is backed by a Iwaranti yoNyaka o-2. For detailed warranty terms and conditions, please refer to the official StarTech.com webindawo.
9.2 Inkxaso yobuGcisa
For technical assistance, product documentation, or driver downloads, please visit the official StarTech.com support webindawo: